Let’s Learn about Cricut Maker 3 Blades
Here!
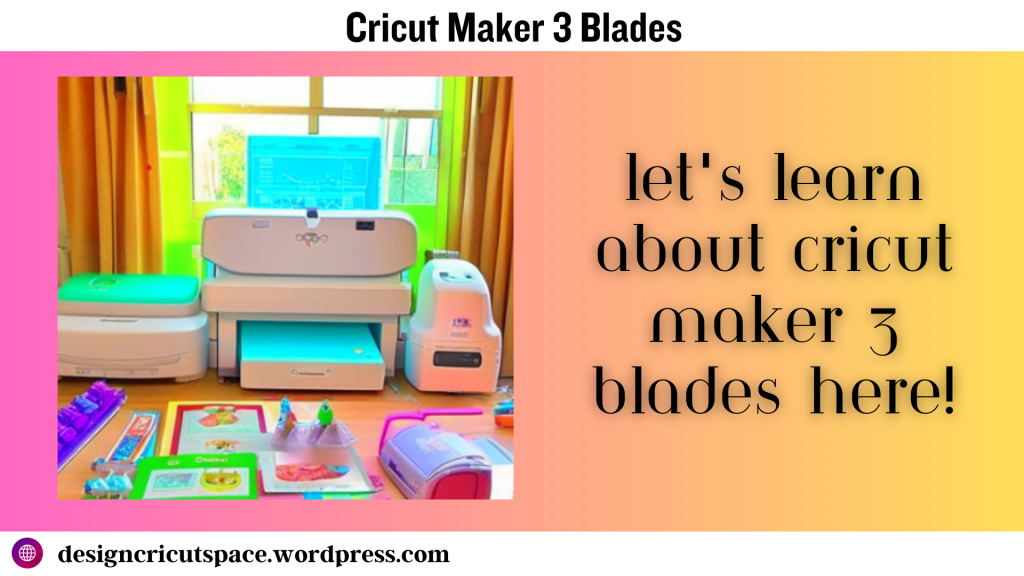
You must use the correct Cricut Maker 3 Blades blade to complete your project. Undoubtedly, most users choose this machine for multiple reasons. For instance, it is straightforward to use, has numerous blades, and cuts various materials and accessories.
Table Of Content
- Let’s Learn about Cricut Maker 3 Blades Here!
Before deciding which kind of project you will create from the machine, you must choose the right blade. If you choose the wrong blade, you won’t be getting the project of your choice. Now, without any delay, let’s look at the different kinds of blades used in the Maker 3 machine while designing the project.

Classification of Maker 3 Blades
Since the launch of the Cricut machine, user expectations have also arisen. The company kept adding new versions of the machine to satisfy their needs for the fabric cut-die machine. One of the versions added to the Maker family after Maker was Maker 3.
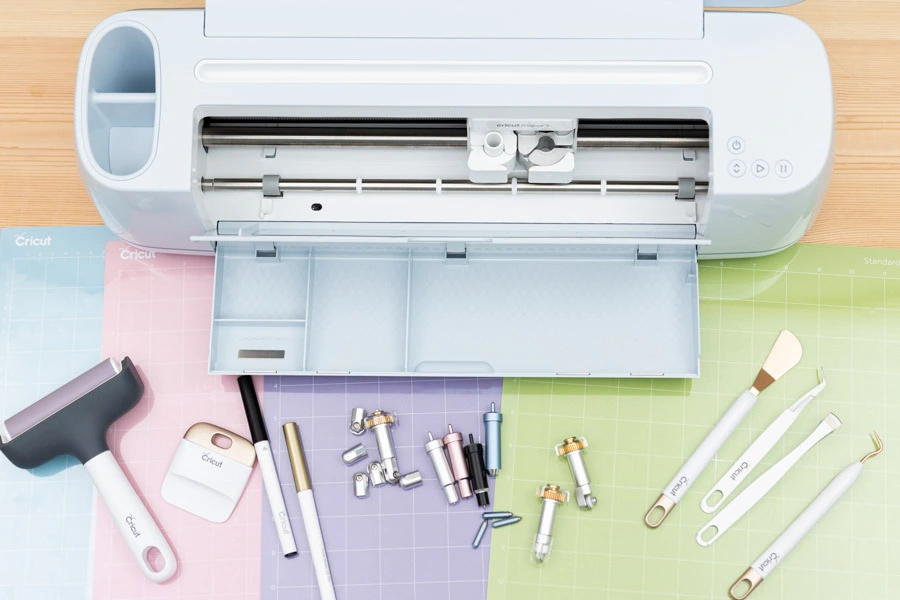
The machine caught all the limelight as it was a multi-tasker and gave the best quality of the project. It contained a wide range of blades with unique features and cut different fabrics within a few minutes. Below, you’ll get the complete range of blades that come along with the machine, along with its features:
Bonded-Fabric Blade
The Premium Fine-Point Blade is available in pink color to match the FabricGrip mat. This blade is preferred to cut on bonded fabrics or fabrics with an iron-on backer. In addition, the Bonded-Fabric blade is used with Bonded-Fabric Blade Housing.
Deep Point Blade
It efficiently performs precise cuts on the edges to ensure the project isn’t ruined. It has a steeper blade angle with more complicated and more durable steel. Crafters prefer this blade to cut thick materials like magnets, foam sheets, and stamp materials.
Premium Fine-Point Blade
This blade cuts down paper, cardstock, poster board, and other thin to medium-weight fabrics and is available in gold color. Moreover, this blade can efficiently run on Cricut Maker & Cricut Explore machines.
This blade is specially formed from premium German carbide steel designed to make unimaginable cuts come true. Along with that, it can cut thin to medium-weight materials. It was earlier known as Premium German Carbon Blade.
Rotary Blade
You can precisely cut fabric and home crafts items with this blade. Its blade makes the fabric easy. Cutting down the fabric and other soft, delicate, or less-dense materials such as tissue paper and cork is preferred.
Knife Blade
This blade cuts down material up to 3/32 in (2.4 mm) thick quickly and safely. It’s perfect for cutting down thicker material in precise form. This blade can be used with Knife Blade drive housing and is compatible with the Cricut Maker machine.
Since you have grabbed so much information about the different types of blades, it’s time to encounter the procedure via which you can install the blade in your Maker 3 machine.
How to Install a Blade in Cricut Maker?
Installing the blade in Maker 3 machine is relatively easy. You have to follow the steps shared below:
- Firstly, you must ensure that your blade is placed on the top surface of Clamp B.
- Second, if the housing is seated too high, your blade won’t contact the blade quickly.
- After that, close the left arm first while closing the clamp arms around the blade housing.
- You’ll notice that the left arm is a snitch that will fit snugly around the housing.
- Hold on to the left arm, swing the right arm, and close the plastic tab.
- You need to put gentle pressure to close the plastic tab.
- Then you will notice that the clamp arms are secured around the housing.
- Lastly, both camps ( Clamp A & Clamp B) will align when the plastic tab properly gets closed.
Summing up the blade installation process, now you can easily change the blade in your machine as per your requirements.
Conclusion
As I said in this article, we hope you understand all the details about the Maker 3 machine, its blades, features, and installation procedure. Besides, if you have any queries, don’t hesitate to read the following FAQs. They will be solving your issues about the Cricut maker 3 blades.
Read our latest blog:- how-to-connect-cricut-to-computer-complete-guide
Frequently Asked Questions
Question: How can I sharpen my Cricut Maker 3 blade?
To sharpen your Maker 3 blade, roll the aluminum foil and give it a ball shape. Remove the housing from the machine. Press the blade housing pin so the blade comes out slightly. Keep cleaning the blade at least 50 times until it looks bright and sharp.
Question: Do I’ve to purchase the blade from the Cricut official website?
Answer: The blade comes in the machine box. You can also buy it from the official website if you lose your blade or get it broken.
Question: What is the duration of the Cricut Maker 3 blade?
Answer: It depends on how often you’ve used the blade while creating your projects. Though, the blade duration is 03 month-06 months, and it might increase if you keep sharpening it and take care of it properly.

Leave a comment